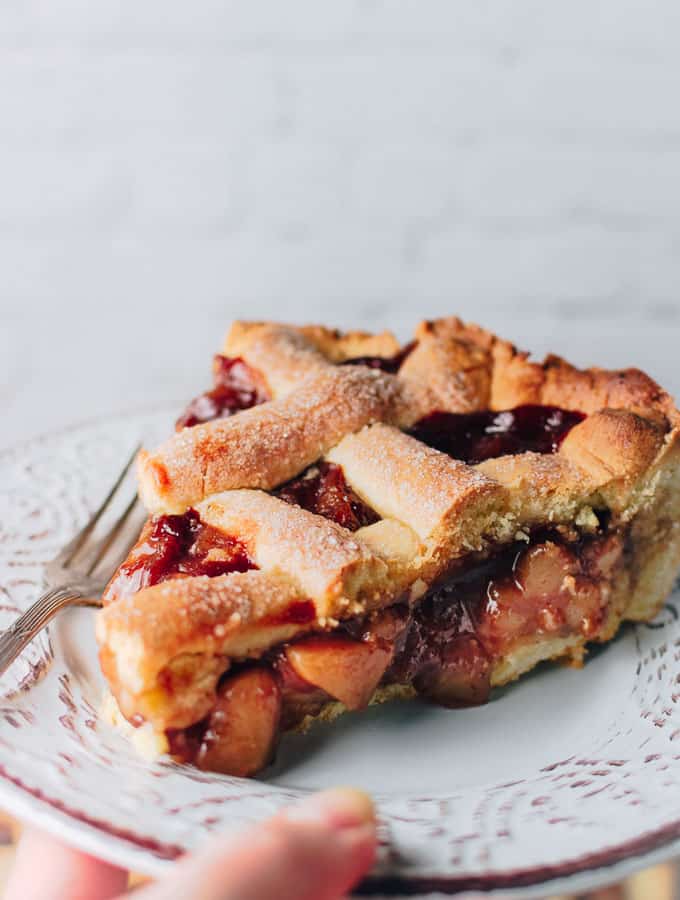
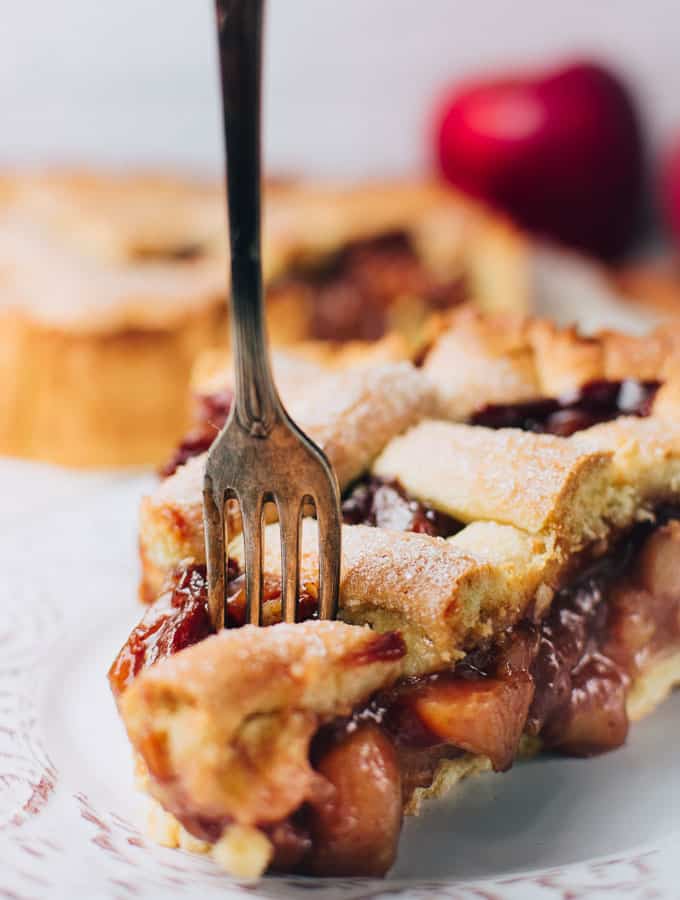
This Apple Pie From Scratch is going to be one of the best you will ever taste! Made off a flavorful, spiced jam-like filling of sweet red apples, and a buttery, crumbly, sugar cookie pie crust.
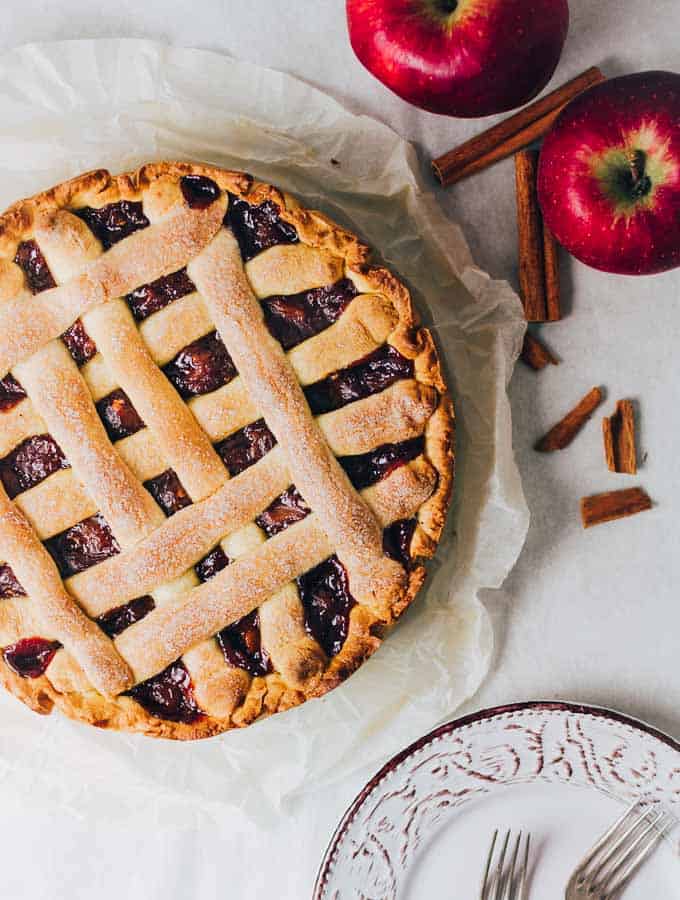
The best thing about this apple pie is that it keeps nice, crumbly, and firm. It doesn't get mushy, or soggy. Due to the sugar cookie crust that keeps nicely even for 2-3 days.
Another thing that helps keep the texture of the pie nice and firm, is the fact that the filling is cooked before it is added into the pie. Instead of adding the apples directly into the pie, where they drain and wet the pie crust while the pie is baked.
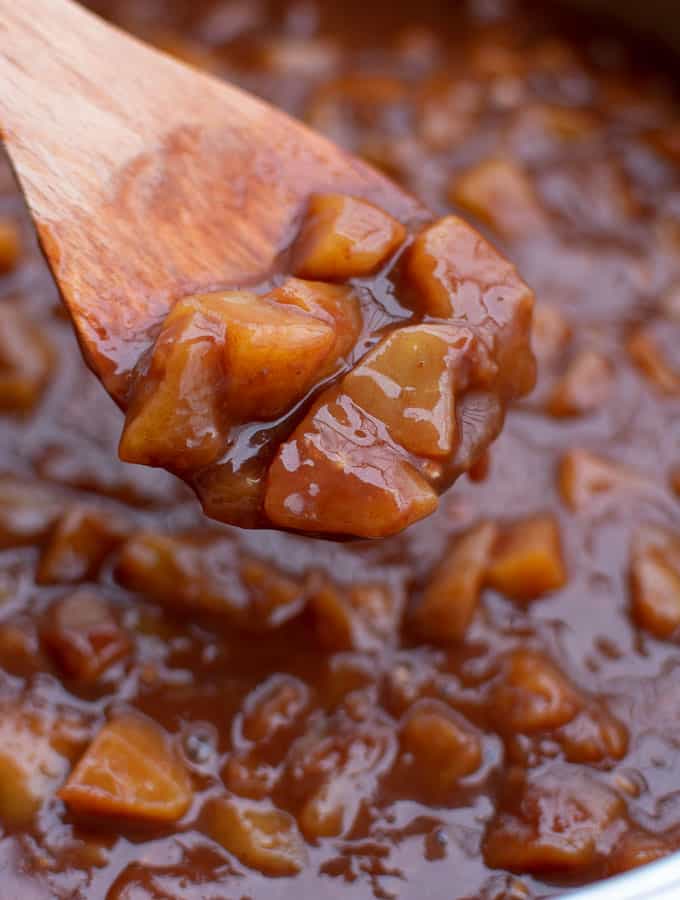
You just cook them in a pot, to soften them, and enhance their flavor, and then by adding some cornstarch, you give the filling a jam-like thickness.
Apples release pectin when simmered which gives a natural glazy texture.
Also, this apple pie is not completely covered on top. Therefore, the filling gets better baked by leaving space for the steam and moisture to escape properly out of the pie.
What Type Of Apples For Apple Pie
If you ask me, then that really depends on your preference of how sweet you want the apple pie to be. In case you want it to have a hint of sourness, then use a variety like Granny Smith's. If you like it to be just sweet, then use a red apple variety like Fuji, Honeycrisp, or Red Delicious. Or you can use both if you like variety.
There really are no rules on what apple should be used to make an apple pie. Go with what you like.
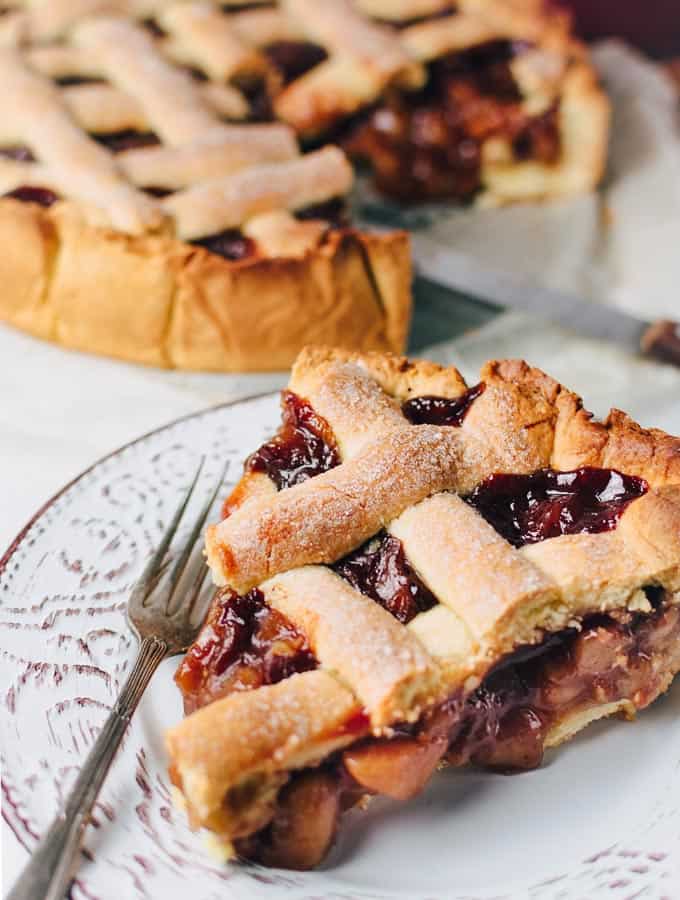
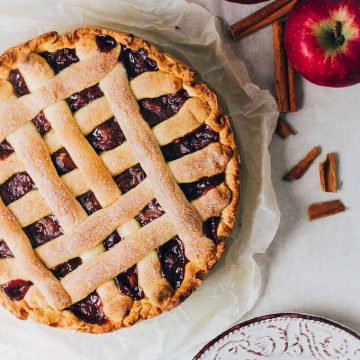
And because this is a Greek Apple Pie (Milopita), it is made with red apples, and it's truly sweet. If you know Greek desserts, then you know what I mean... And if you think that's too sweet for you, then use a green apple variety, or a half and a half mix to bring the sweetness down a bit.
How To Roll The Pie Dough
Whenever I make a sweet pie that has a cookie dough as a base, I always roll it in between two pieces of parchment paper. This way, it doesn't stick to the rolling pin, nor the work surface.
Plus, you can cut the one piece of parchment paper to a round shape that's just the size of your pan and use it as a guide on how big you should roll open the dough.
To create this parchment paper rolling guide, you take a big piece of parchment paper and fold in half. Then fold in half again to create a square. Fold the square in thirds to create a triangle. Fold the triangle in half. Now hold it in order to point to the center of the pan and cut the bottom end, right where it meets the edge of the pan (I always give it a ¾ inch (2 cm) space to cover the height of the pan also).
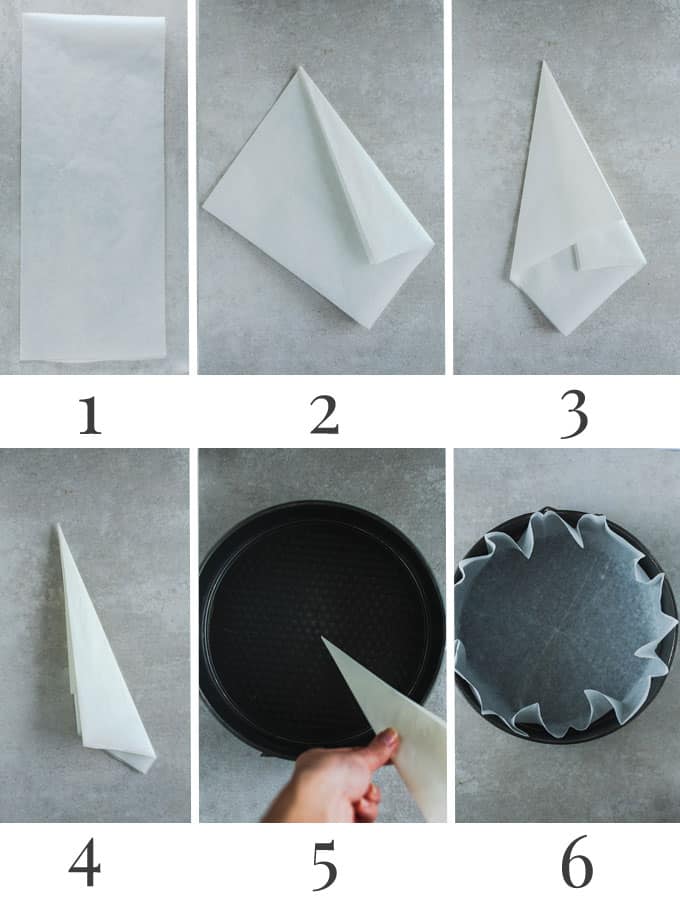
Using this parchment paper rolling method makes it easier to transfer the dough into the pan without breaking it apart. You just place it in the pan, along with the bottom piece of parchment paper.
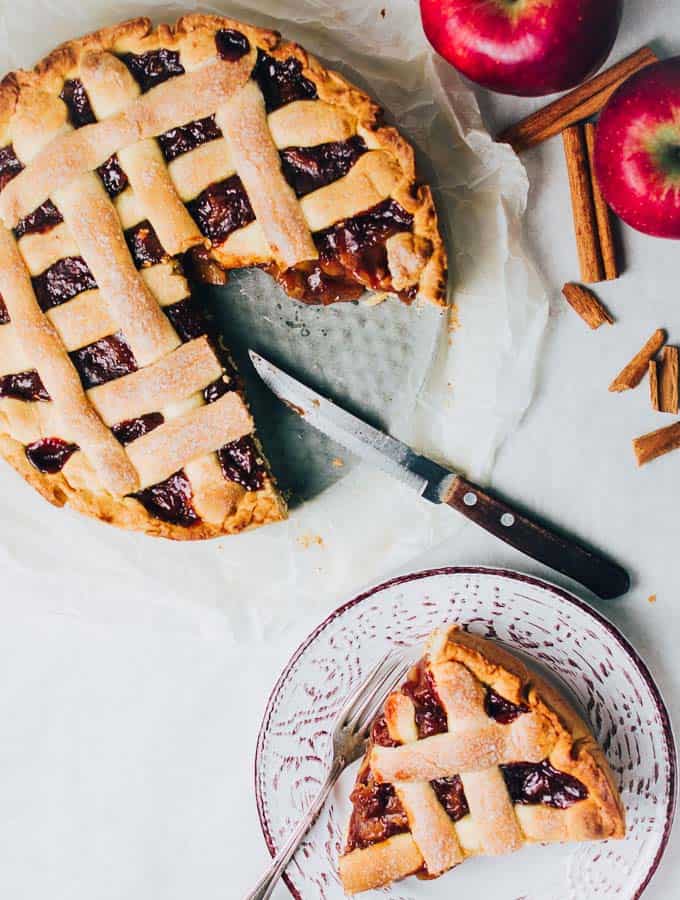
Easily Transfer, Cut, & Serve The Apple Pie
This way, when the pie is baked and cools down, you can use the parchment paper to easily transfer the pie to a serving plate or cake stand. You don't have to leave it in the pan that it was baked in. And the best thing about that? You needn't struggle to get that first piece out (which is something really frustrating or was anyway...).
And last but not least, another thing you can do to make your life easier with this type of pies is to use a springform cake pan. So you can remove the ring and transfer the pie more easily. Or just cut and serve effortlessly right away!
NOTE: Make sure you let the pie cool down for at least half an hour before cutting and serving.
And because this is like A LOT of information that may sound a bit confusing (or maybe you're more of a visual type, like me) check out this pic tutorial I've made to help you understand everything a little bit better...
As for the pie top, I rolled the remaining dough into long cords with the help of some flour. And then rolled them over sugar to give a nice sugar cookie texture and crunchiness on top.
But you can get all creative and roll open the dough altogether, and then use your favorite cookie cutters and shape it any way you like.
SERVE WITH:
OTHER TRADITIONAL GREEK PIES YOU MAY LIKE ⬇
Okay, now I think I've covered everything you need to know to make the best apple pie from scratch. And just in time for the holidays. Is it just me who thinks apple pie is THE ULTIMATE WINTER DESSERT?
If you do serve on the holiday table don't forget the gelato (that I mention above) to serve a dessert everyone will remember for the rest of the year!
Recipe
Apple Pie From Scratch - Milopita
Ingredients
For The Pie Crust:
- 250 grams / 8.8 oz butter at room temperature
- 125 grams / 4.4 oz sugar
- ½ teaspoon salt
- ½ orange zest
- ⅓ teaspoon vanilla extract
- 2 medium-sized eggs
- 3 grams / 0.10 oz baking powder
- 500 grams / 17.6 oz flour
For The Apple Filling:
- 900 grams / 31.7 oz red apples (Fuji, Honeycrisp, Red Delicious)
- 1 tablespoon soft butter (or margarine)
- 6 tablespoons sugar
- 1 tablespoon ground cinnamon
- ⅓ tablespoon ground cloves
- 1 teaspoon ground nutmeg
- 3 tablespoons cornstarch
Instructions
For The Pie Crust:
- In a small bowl mix together the flour and baking powder. Set aside.
- Cut butter into small squares and add to the bowl of your electric mixer along with the sugar.
- With the paddle attachment on, beat over medium speed for 3-4 minutes until butter is softened. Add the salt, orange zest, vanilla extract and the eggs one by one.
- Reduce heat to low, and add the flour mixture in small bits at a time.
- Once the dough is fully incorporated, shape into a ball and place in a freezer bag, or wrap with parchment paper and rest in the freezer for 1 hour.NOTE: The dough should be very soft and slightly sticky. Dust very lightly with some flour so you can handle it.
- Meanwhile, make the filling.
For The Apple Apple Filling:
- Peel and seed the apples, and cut into small pieces. about ½ inch (1,5 cm).
- In a small pot, heat the butter (or margarine) over high heat. Add the apples and cook for 3-4 minutes to soften while stirring with a wooden spoon..
- Add the sugar and the remaining spices along with 3 cups of water.
- Reduce heat to medium-low and simmer for about 20 minutes leaving the lid on slightly open on the side.
- Dissolve the cornstarch in a ½ cup of cold water and pour it in the pot.
- Stir until it starts to thicken. Then remove from heat and set aside.
Assemble:
- NOTE: To create the parchment paper base for the pan follow the instructions on the text above.PAN USED IN THIS RECIPE: 10-inch Non-Stick Springform Pan
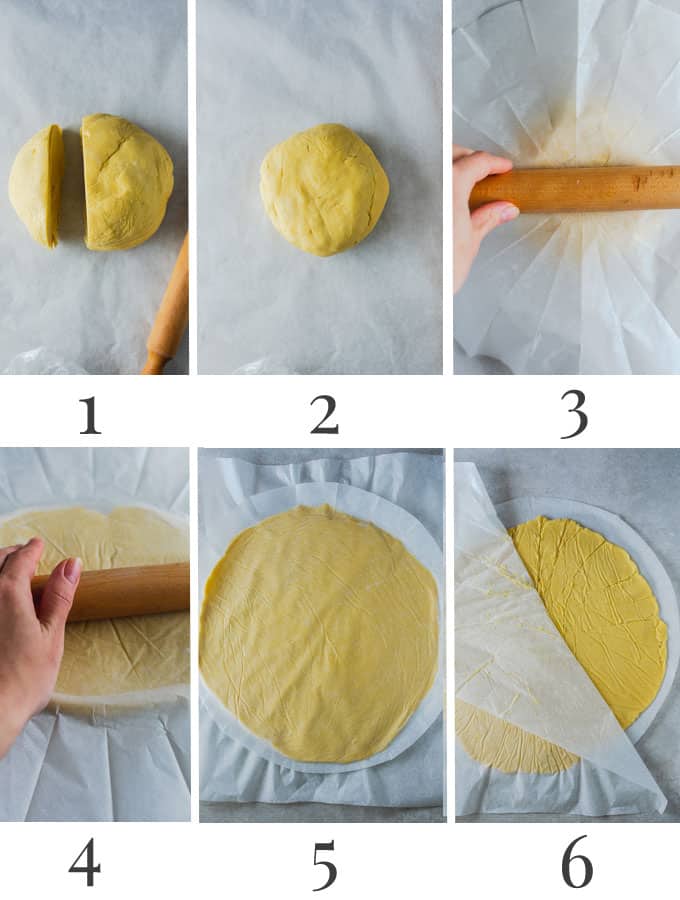
- Remove dough from the freezer and divide it into two pieces of ⅓ and ⅔. The bigger piece (⅔) is going to be the pie bottom and the smaller (⅓) is going to be the top.
- Take the biggest piece of the dough, shape into a ball, and place it on a piece of parchment paper. Cover with the round piece of parchment paper you created (to use as a rolling guide) and start rolling on top of the parchment paper until you have a round crust almost the same size as the top round piece of parchment paper (give about ¾ inch (2 cm) space all around).
- Flip the dough with the parchment paper so the dough sits on the round piece of parchment paper (which is the base for the pan). Gently remove the top parchment paper.
- Take the round parchment paper base with the dough, and gently place it in the pan. Work it with your hands to make it sit all around.
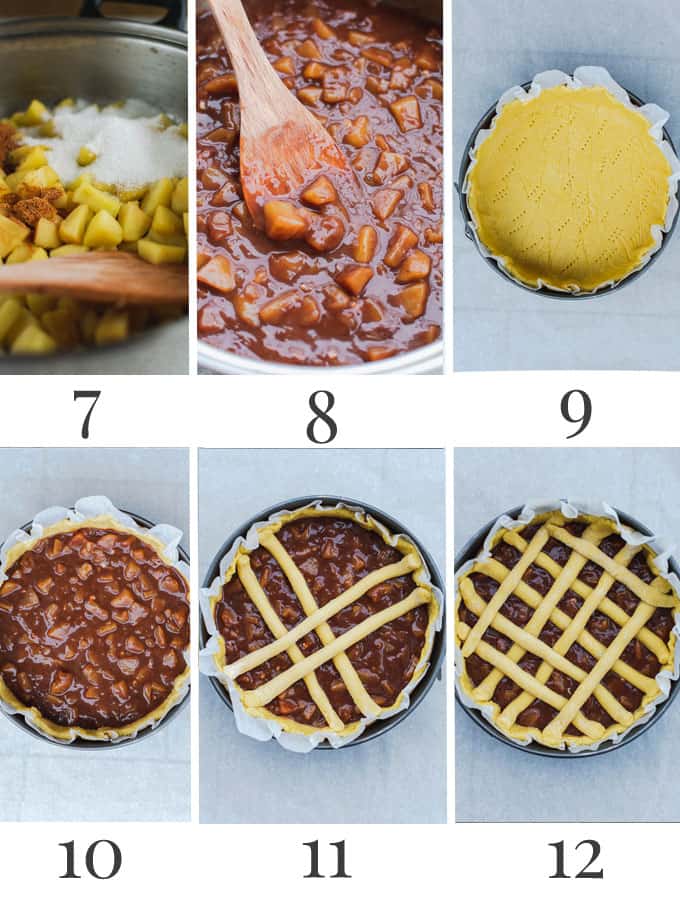
- Prick the bottom of the dough with a fork. And add the filling.
- Preheat oven to 170°C / 338°F.
- Take the remaining ⅓ dough piece, and cut into 9 pieces. It's ok if they are uneven. The smaller ones can be placed on the sides.
- Dust with a bit of flour, and shape each piece into a long cord, rolling gently with your fingertips. Then roll each cord over some sugar.
- Place on the pie like this: 2 cords lengthwise, 2 cords widthwise until you have used them all. Press each cord to the edge of the pie in order to stick together.
- Bake for about 50 minutes or until pie gets a dip golden color on top.
- Let the apple pie rest for half an hour before removing from pan and serving.
Nutrition

YOU MAY ALSO LIKE -BAKED APPLES STUFFED WITH CUSTARD CREAM
Soft, and buttery, drizzled with honey, walnuts, and cinnamon. Another cozy wintry dessert you're going to love!


Leave a Reply